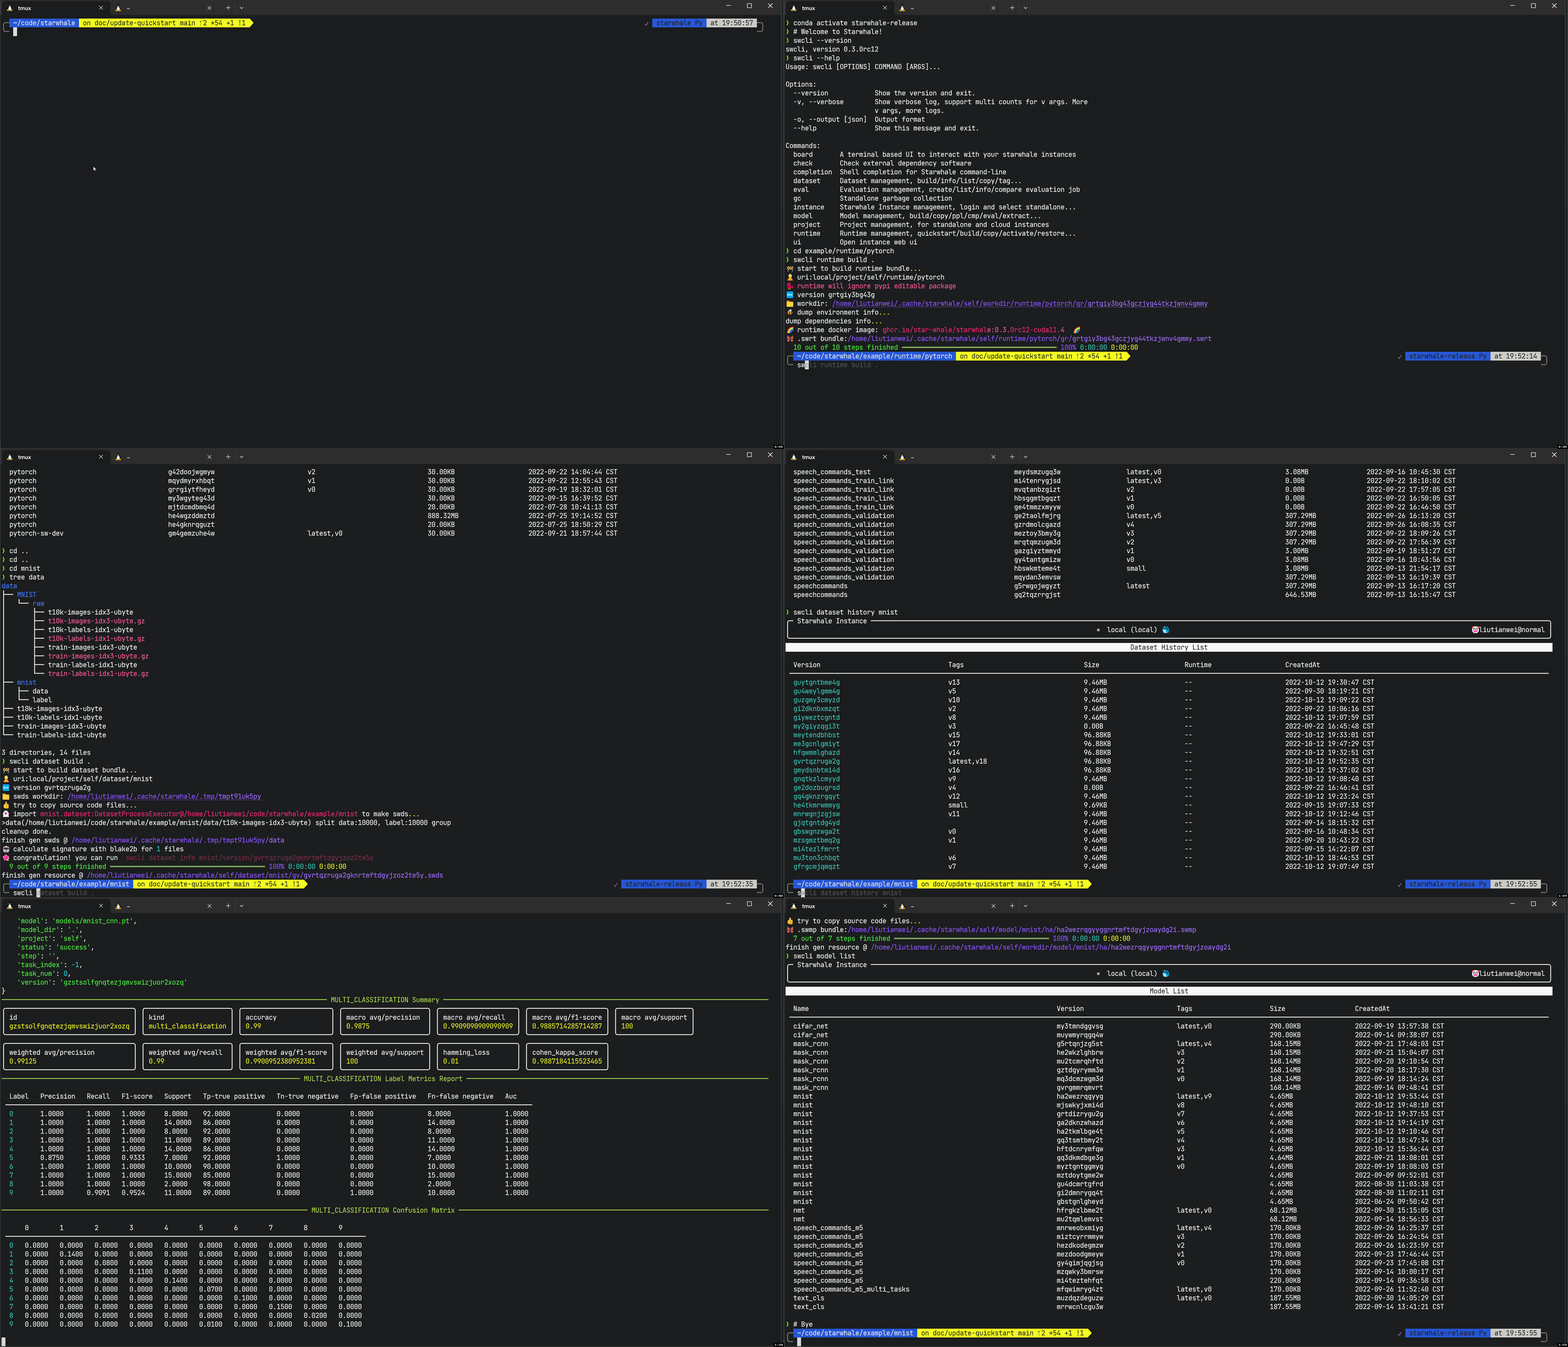
Starwhale Standalone入门指南
我们也提供对应的Jupyter Notebook例子,可以在 Google Colab 或本地的 vscode/jupyterlab 中试用。
安装 Starwhale Client
python3 -m pip install starwhale
详细文档参见 Starwhale Client 安装指南。
下载例子
通过以下方式克隆Starwhale项目来下载Starwhale示例:
GIT_LFS_SKIP_SMUDGE=1 git clone https://github.com/star-whale/starwhale.git --depth 1
cd starwhale
为了节省例子的下载时间,我们执行git clone命令时,忽略了git-lfs,并只保留最近一次的commit信息。我们选用ML/DL领域的HelloWorld程序-MNIST来介绍如何从零开始构建数据集、模型包和运行环境,并最终完成模型评测。接下来的操作都在 starwhale 目录中进行。

构建 Starwhale 运行时
运行时示例代码位于example/helloworld目录中。
构建Starwhale运行时包:
swcli -vvv runtime build --yaml example/helloworld/runtime.yaml提示当首次构建Starwhale Runtime时,由于需要创建venv或conda隔离环境,并下载相关的Python依赖,命令执行需要花费一段时间。时间长短取决与所在机器的网络情况和runtime.yaml中Python依赖的数量。建议合理设置机器的
~/.pip/pip.conf文件,填写缓存路径和适合当前网络环境的pypi mirror地址。处于中国大陆网络环境中的用户,可以参考如下配置:
[global]
cache-dir = ~/.cache/pip
index-url = https://pypi.tuna.tsinghua.edu.cn/simple
extra-index-url = https://mirrors.aliyun.com/pypi/simple/
检查您本地的Starwhale运行时:
swcli runtime list
swcli runtime info helloworld
构建模型
模型示例代码位于 example/helloworld 目录中。
构建一个Starwhale模型:
swcli -vvv model build example/helloworld --name helloworld -m evaluation --runtime helloworld检查您本地的Starwhale模型:
swcli model list
swcli model info helloworld
构建数据集
数据集示例代码位于 example/helloworld 目录中。
构建Starwhale数据集:
swcli runtime activate helloworld
python3 example/helloworld/dataset.py
deactivate
检查您本地的Starwhale数据集:
swcli dataset list
swcli dataset info mnist64
swcli dataset head mnist64
运行评估作业
创建评估工作
swcli -vvv model run --uri helloworld --dataset mnist64 --runtime helloworld检查评估结果
swcli job list
swcli job info $(swcli job list | grep mnist | grep success | awk '{print $1}' | head -n 1)
恭喜! 您已完成Starwhale Standalone的入门指南。